HOW TO SETUP A VIDEO PODCAST STUDIO THAT DOESN’T SUCK
We all get it wrong.
It is a really easy mistake to make when it comes to anything quality-based. Better cameras should produce a better image. In theory, it makes sense, why else would there be more expensive cameras out there. When it comes to creating podcast studios, so many start-up podcasters jump to the same conclusion.
Who says “I want my podcast to sound horrible and look like an elementary school project”? But why do so many podcast studios feel flat and plain while making the on-screen talent look like a tomato? It has very little to do with the camera and has so much more to do with the other elements that get the least attention.
the Four pillars of a studio.
People only ask me two questions when reaching out for advice on setting up a podcast studio.
1. Which camera should I buy?
2. which microphones do you recommend?
Though these questions do matter, they are literally only half of the four key pillars to designing a great video podcast studio. So don’t be a loser, put on your learning hat, and let’s figure out how you can make a Podcast studio that will make Joe Rogan jealous. And don’t worry, we will talk about equipment and all equipment suggestions can be found at the linked document found at the end so you can purchase any of the recommended items mentioned in this post.
Pillar ONE: Location
Everyone knows you need a place to put your studio, that is a given, But that a location is usually the reason a podcast studio looks bad is not a concept everyone realizes. At the same time, even though your location of choice is extremely important, it is not an extremely complex process to figure out what is a good location. The checklist for a good location goes like this:
- At least six feet of space from the background to the on-screen talent
- At least four feet of space from the on-screen talent to the camera (at least six feet if you will be having more than 1 on-screen talent)
- Quiet without and loud mechanical devices next to the room.
So let’s break this down.
Why at least six feet from the background?
Separation is the name of the game when it comes to a visually appealing setup.
Why do silhouette images always look so cool? It’s because there is an obvious separation of the foreground from the background. Now we probably don’t want your podcast to have your talent silhouetted, but we do want them to be visually separated. Distance is the first step to that separation. More distance gives us more ability to allow the background to be lit differently than the foreground. If you don’t have this distance you run into the major issue of having the color of the background bleeding onto the skin color of the talent, which destroys separation while also changing the skin tone of the talent on camera (often the cause of the tomato head look).
Why at least four feet from the talent to the camera?
Let’s say you want to see the on-screen talent from their belly button and up on camera. If you have to keep the camera really close to the subject because you don’t have enough room then you will need to get a wider lens on your camera to be able to see more. If you go for a wider lens while still keeping the camera close to your talent, the wide lens will start to distort the face and body shape of your talent. Facial features closer to the camera get bigger, like your talents nose, while other features like their ears, get smaller. For most people, this is not a flattering look, so save yourself the embarrassment and give yourself some room.
Why a quiet location, can’t I soundproof?
Most people head to Amazon to buy those egg-crate looking foam pads to “soundproof” their studio from road noise or a loud heater/air conditioning system only to find out they make no difference. The egg-crate foam things are for sound dampening, not soundproofing.
Soundproofing is a very expensive process of creating thick, multilayered surfaces that absorb and block sound penetration. Sound dampening is the process of changing a room’s acoustical properties, such as reducing the echo in a room.
Both processes take a certain degree of acoustical knowledge and financial investment to attack. So let’s avoid attacking them as much as possible by choosing a location that does not need an acoustical change from the start.
If your room is close to a loud street, don’t choose that room. If your room is next to the furnace, don’t choose that room. If your room has a refrigerator in it, if you are ok with turning off the refrigerator while recording, then you can choose that room.
Sometimes we just don’t have a room big enough for these requirements, yeah that happens, but find ways to think outside the box. Shooting diagonally in a room – from one corner into the opposite corner – often gives you 3-4 extra feet of space.
Beyond the location checklist, there is the setup of the location. This post will be far too long if we delve into the principle of aesthetically pleasing interior design so in the interest of keeping things short here are some tips:
Table
- Avoid highly reflective tables, they add weird-looking reflection on the talents’ face.
- Get the sturdiest table you can find, a wobbly table is annoying, looks bad, and could damage equipment.
- We always purchase tables that are 36 inches high which allows the table to sit higher than the chair keeping the talents back straight and the microphone close to their mouth.
Chairs
- Avoid squeaky chairs, kind of a given but avoid things that will destroy your audio.
- Avoid armed chairs as they make it difficult to get out of the chair and they will always be bumping into the table.
- If you will be having guests get adjustable height chairs so everyone on screen can be adjusted to have their eyes at the same height.
Background
- If you have properly separated your background, you can go crazy with whatever colors and design fit your podcast theme without drastically affecting your talents’ skin tone.
- Prioritize more textures over more colors; too many colors can get very distracting quickly while the same colored items that have different textures can create a lot of visual interest.
- Find ways to use lights in your background such as dimmed down lamps, tube lights that create a glow from behind a texture, or string lights.
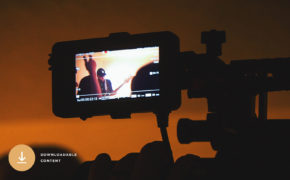
Pillar TWO: Video
Yes, this is where we talk about the recommended cameras. Honestly, the best camera is the camera you already have. If you can make it work, it is sufficient. The quality of an image really comes from the lighting, and we will get into that in the last pillar. So all we need is something that can capture that lighting sufficiently, without much hassle, and long enough for your podcast. Most photo-camera-turned-video-camera options are extremely budget-friendly, but they have one major issue: They cannot record for longer than 30 minutes. That is why this pillar is about the video system, not just the camera option.
The system for capturing video has multiple layers that all lead towards not just a great-looking video, but a hassle-free capture process.
The Lens
The lens is the most important choice for a camera setup because it is actually the element that determines the quality of the image capture and it is also the element that can facilitate your setup process. We always choose lenses with a zoom capability with a fixed aperture. The zoom is important because it gives you more freedom to get the right framing despite how far away you place the camera from the talent. The zoom also allows you to shoot a show with only one person, then zoom out to shoot a show with 3 people, all with the same setup. The fixed aperture portion of that lens simply means the lens lets in the same amount of light at any focal length. This fixed aperture technicality costs a lot more, but it also keeps you from having to adjust your lighting every time you change your focal length.
Our goto lens for video podcast studios can be found in the document link at the end of this post.
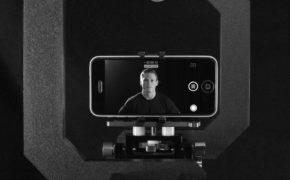
The Camera
There are so many camera choices, it is ridiculous. We choose cameras off cost, autofocus, and clean output.
The cost portion is pretty straightforward. We don’t find much need to spend more than $700 on a camera body for this type of work. More expensive cameras give you more minute control over how you capture your image. When we shoot a feature film, I find a $40K camera to be worth it. But when setting up a camera and then rarely touching it again for a podcast studio, that level of control is not needed.
The autofocus ability of your camera choice is the most important. Few things are more heartbreaking than finishing a powerful conversation only to find out the camera was focused on the background making you look like a blurry mess. Getting a camera with intelligent autofocus that prioritizes faces is key. Or you can hire someone to stand next to the camera and keep it in focus, but you will find autofocus is a much cheaper alternative.
Remember the 30-minute recording limit of most photo-camera-turned-video-camera? Well, you could always buy a video camera that does not have that issue, which is an option, albeit more expensive, or you could just restart the recording every 30 minutes, which I don’t recommend because there will always be a moment when the camera stops recording and you don’t catch it in time, or you can do what we do and record to an external recorder. An external recorder adds cost, but it also adds two very useful time-saving features: Focus/Framing check and auto-syncing of multiple cameras with audio.
The Recorder
I have witnessed projects filmed with an individual specifically dedicated to double-checking focus (on a camera with auto-focus) and on their small screen focus looked great, only to find out, when expanded to full size on a computer monitor, that nothing was in focus. It happens, but it is less likely to happen when you view the image first on a large screen, when you output to an external monitor for recording, the smallest screen for an external recorder is 5 inches, more than double the size of the on-camera screen.
All of the studios we have set up have asked for multiple cameras. Multiple cameras are great as they provide options in the edit to cut around mistakes or parts that need to be removed. The most time-consuming part of capturing multiple cameras is the time taken to sync up all the cameras and the recorded audio when editing. A seasoned editor can sync multiple cameras and audio in a minute or less, but for new editors, I have seen it take up to 15 minutes. When editing podcast after podcast that time can really add up. Beyond that, often different devices will record at slightly different rates causing the audio to slowly drift out of sync when videos run longer than 35 minutes. Fixing this small but annoying issue can take half an hour to an hour to fix for a new editor. But beyond that, remember to start the recording on camera 1, camera 2, camera 3, and the audio recorder, then keeping track of all four media cards, then offloading all four media cards, then organizing all of the files from each card… it gets crazy really fast and allows for too many possible errors in the process.
So we install a multi-camera recording monitor. With one push of the record button, all devices are recorded, synced, and organized. We offload one drive, import one folder, and then drop all the clips pre-synced into the editing timeline, oh and look at that, all the shots are in focus.
All of that was a really long explanation of why your camera of choice needs something called “clean output”. Clean outputs means the camera has a way to output a high-quality image with no interface display covering that image. This allows a recorder to capture the incoming signal at full quality without a bunch of numbers and icons ruining the image. Not all cameras have this ability.
That covers the principle of what we are looking for in a camera and recording setup. There are a lot of technicalities involved in that setup. We have all the items listed in the document link at the end of this post. In short, the additional items allow for continuous power to the camera, mounting the camera to a secure platform, cabling out of the camera into a converter to allow for a longer cable run, the recorder, and the drive for the recorder.
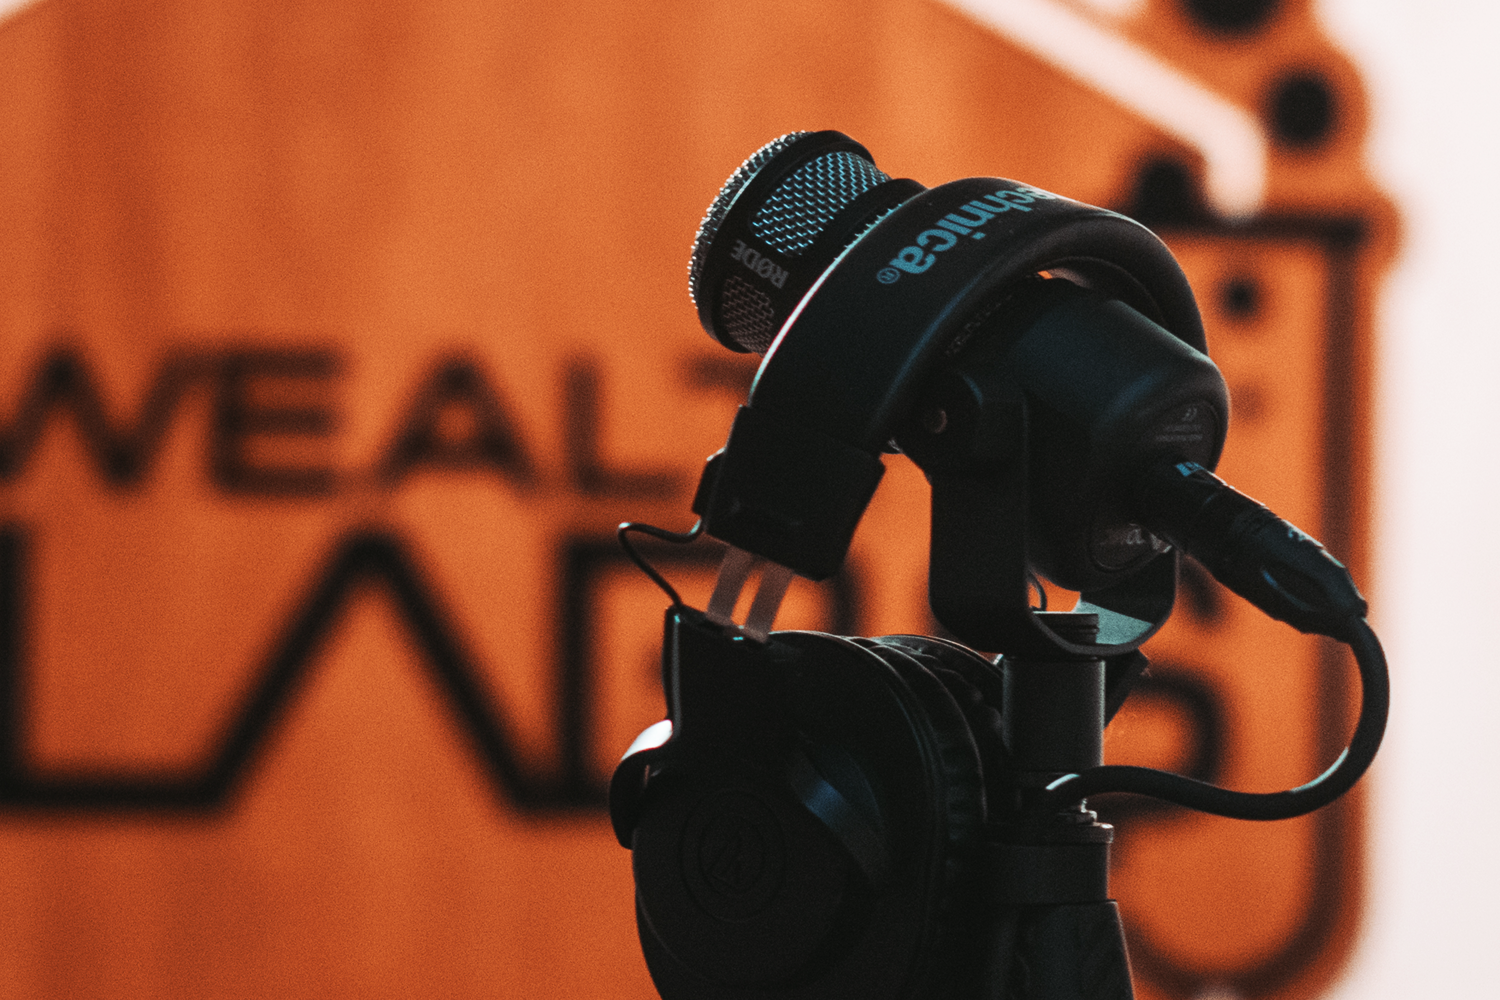
Pillar THREE: Audio
Audio is great because it is rarely easy while having the biggest impact on the quality of your podcast. The most important part to look for in an audio setup is how can you get the microphone as close to the talent as possible and how can the talent hear themselves so they can self-regulate how close they stay to the mic.
Accomplishing these two things is pretty simple. Stick the mic on the desk, with a small stand or a mic arm, and then have headphones so the talent can hear themselves. The mic itself does not make a massive difference, simply by getting the mic as close to the speaking subject as possible will always allow for cleaner audio.
Aout audio setup goes like this:
We use a cardioid mic mounted on a desk. Cardioid means that the mic picks up sound in the direction it is being pointed and cancels out any sound coming from behind it allowing you to get clean audio even in a room that is not been professionally treated for good acoustics. We mount our mics on a desk instead of arms because we find in scenarios where multiple talents are gathered around a desk conversing, the arms can block the face of another talent.
We cable the mic or mics into a mixer. This mixer allows someone to set different mics at different levels. Some people talk really loud while others talk really quietly, the ability to mix your audio allows you to control this so everyone sounds just right. Some mixers allow you to add in extra abilities like playing music, adding sound effects (such as a laugh track), or having a caller join the conversation via a phone.
We cable the mixer back to the Talents headphone. Many of our clients did not like the idea of wearing headphones and wanted to do without, but for our setups that is not an option. If someone is not experienced with talking into a microphone they will often start drifting further and further away from the mic as the conversation goes on. This created an audio quality nightmare. With headphones, the talent can hear everyone talking including themselves helping them to know when to talk louder or quieter in conjunction with the others present. Headphones have a really great ability to help the talent forget about the cameras and others present in the room, pulling them into focus just on the conversation at hand.
We cable the mixer to the video recorder. With the audio levels set and the talent self-monitoring their vocal levels we are ready to send the final output into the video recorder to capture it in sync with the video.
The setup has a few additional technical items used to cancel out any possible electrical noise induced from one piece of hardware to the other, but beyond that, the audio side is simple yet powerful.
Pillar FOUR: Lighting
We put lighting last so it’s the first thing you remember when reading this. Lighting makes people look great, and conversely, lighting makes people look horrible. Lighting is time-consuming because it requires a lot of micro trial and error, but in principle, it is not complex. So let’s get into it.
lighting is about separation, and separation is driven by shadows. It’s the shadows on our face that create depth and that depth triggers the mind to understand the face.
Hard and sharp shadows make someone look intense.
No shadows make someone look flat and plain.
Soft shadows make someone look appealing and intriguing.
-
- When we light we start with the background lights. Get the background to have depth through light, texture, and shadow.
- After that is looking good, let’s make your talent stand out from your background. We do this with a backlight. Simply this is a light from behind the talent that is pointed towards the talents’ shoulder that is furthest away from the camera. This backlight creates a beautiful glowing rim the outlines the talent creating separation from the background. We try and use a light that is warmer for the backlight (3500 kelvin) to create color contrast between the other lights we will use.
- Now it’s time to light the talent. Getting what is called the key light to look good takes some trial and error but first, NEVER POINT YOUR LIGHT RIGHT AT THE TALENT. Because it will blind them? This is very unlikely. Because they will melt? Also not very common. It’s because it creates hard sharp shadows and looks bad when it comes to video podcasts. We want soft shadows on the talent’s face. To get these soft shadows we need to create a really big light source. Sunlight coming through a window often looks very flattering on a person because the entire window, usually 4 feet by 3 feet or bigger, is the whole light source. It is a huge source that bounces light all over the place softening up your shadow all the while keeping one side of the face darker than the other. To recreate this look, shine a light on a white foam board or cloth. The light that bounces off that white object will be diffused making your shadows soft. Depending on your setup and the number of talent you have on-screen there are many ways to approach creating an effective key light. Different faces look better with the key light higher than the head while others look better with the key light right at eye level. Be willing to try a setup, film a test, then try another. Look through your tests on a computer and see which one appeals to you the most. Experiment with different white materials and positions.
Sadly I have to leave you hanging on this last pillar. Lighting is not complex but it has so many variables I would do you a disservice to tell you the exact way to set up your light. We have all the go-to lighting items we use listed in the document linked at the end of this post. You can use household lights to experiment with and get an idea of what you want to do. There are plenty of alternatives to the lights we use, we have chosen the lights we use as we have found them to produce the most accurate colors (meaning it’s not incorrectly tinted slightly green or pink) while being cost-effective. Watch different lighting setups videos, look to podcast studios you like the look of, and don’t get frozen with fear, just experiment.
Here it is.
Establish these four pillars as you plan your podcast studio and you will be well on your way to building something that will have an ease of use, beauty, and personality that make help any of your viewers feel welcomed. In the end it’s about them, those listening to the stories you will share, this setup will help them to be able to enjoy it to the fullest.
This link will take you to a google spreadsheet that lists our goto equipment. COMV is a participant in the Amazon Services LLC Associates Program, an affiliate advertising program designed to provide a means for sites to earn advertising fees by advertising and linking to Amazon.com. We recommend you do research on each item, buy a few things here and there and experiment with your setup. The total cost of all the equipment is around can be $5,000 to $12,000. That is a lot of stuff that not everyone needs. Use this list as inspiration and as a starting point. We invite you to search out alternatives and find what works best for you.
You don’t have to start big, you just need to start. Your story content matters, and as it grows, feel free to come back and grow your studio with it.